Formatting page content
The platform provides a WYSIWYG editor, enabling user to format text and structure your page content without coding knowledge.
Basic formatting
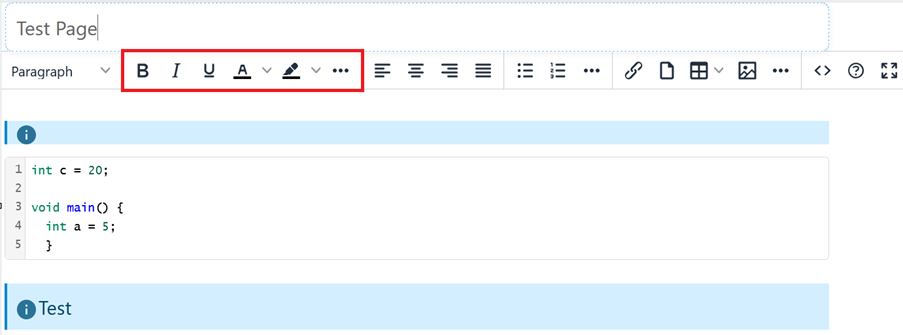
WYSIWYG editor includes common text formatting options:
-
Bold, italic, underline,
-
text colour,
-
text background colour,
-
strikethrough,
-
subscript and superscript
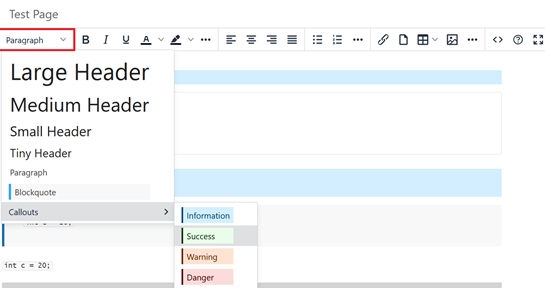
The editor also allows user to set various headers and visual structures to better present the content:
-
Tiny, small, medium and large headers,
-
paragraph formatting,
-
blockquote for emphasizing text,
-
callouts for text accentuation, with options for blue, green, orange and red coloured text blocks.
The editor allows content to be aligned left, centre, right, or justified.
Inserting lists
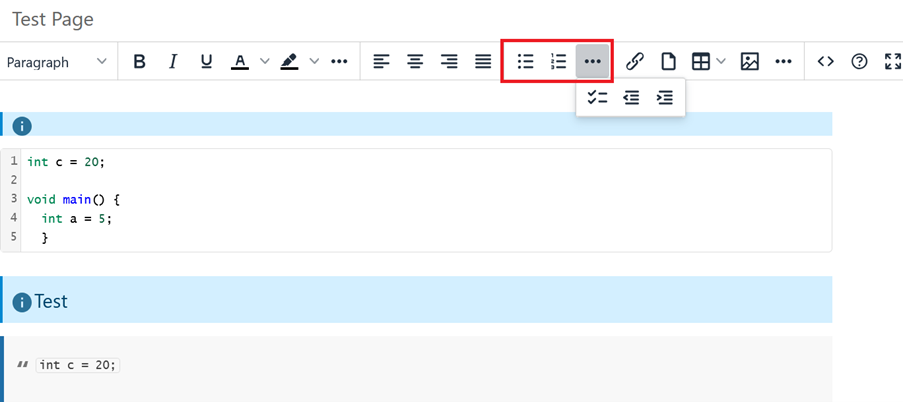
The editor provides functions to create various types of lists. Lists can also include sublists with adjustable indentation levels for better content organization.
List options include:
-
Bullet lists (unordered lists),
-
numbered lists (ordered lists),
-
task lists (checklists).
Inserting links
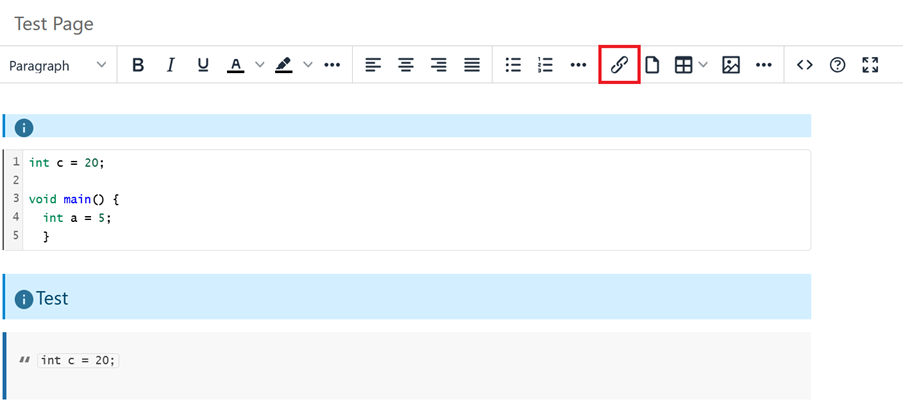
The editor allows users to insert internal or external links.
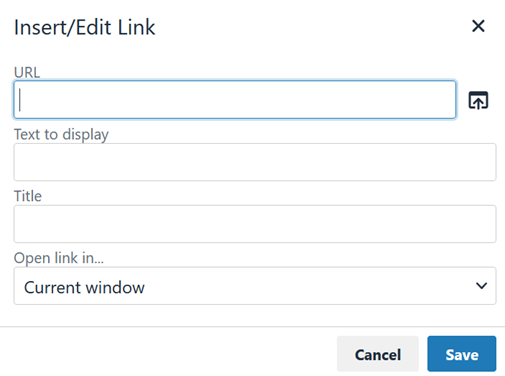
In the Insert/Edit Link window, provide the following details:
-
URL (web address of the link),
-
Text to be displayed (anchor text for the link),
-
Title of the link (optional tooltip text),
-
Open mode (choose whether the link opens in the current window or a new window).
The URL can be:
-
Absolute, linking to an external website.
-
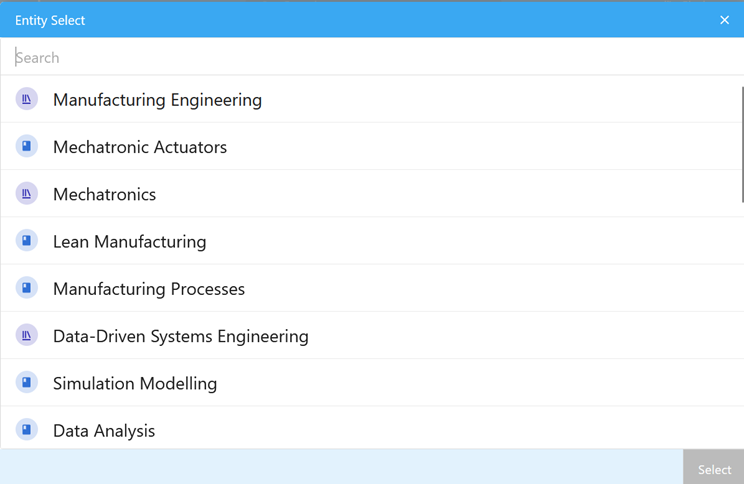
Internal, linking to a topic, course, chapter, or page within the platform.
Inserting (embedding) PDF files
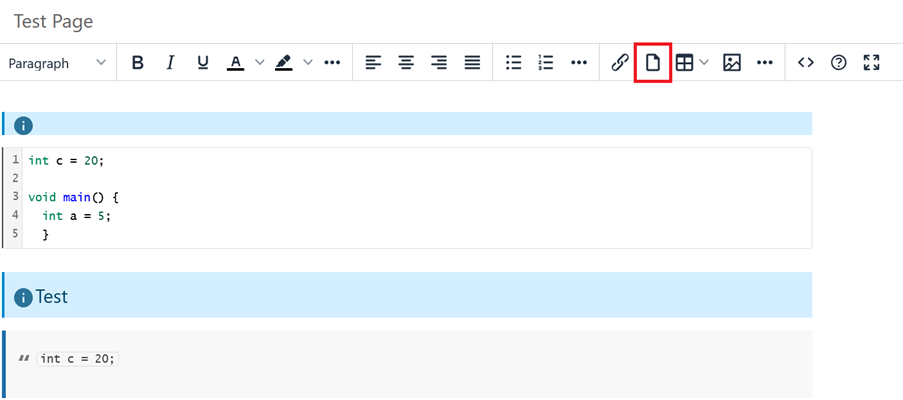
The editor allows users to insert (embed) PDF files directly into the page.
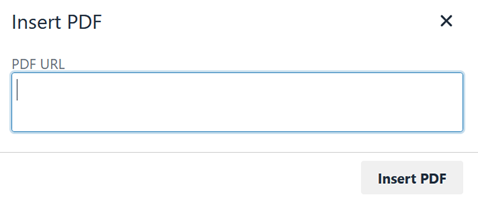
In the Insert PDF window, provide the absolute URL to the PDF file. The file can be:
-
An external URL linking to a PDF hosted outside the platform.
-
A PDF uploaded to the platform, which can be:
-
Attached to the currently edited page.
-
A file previously uploaded to other sections of the platform.
-
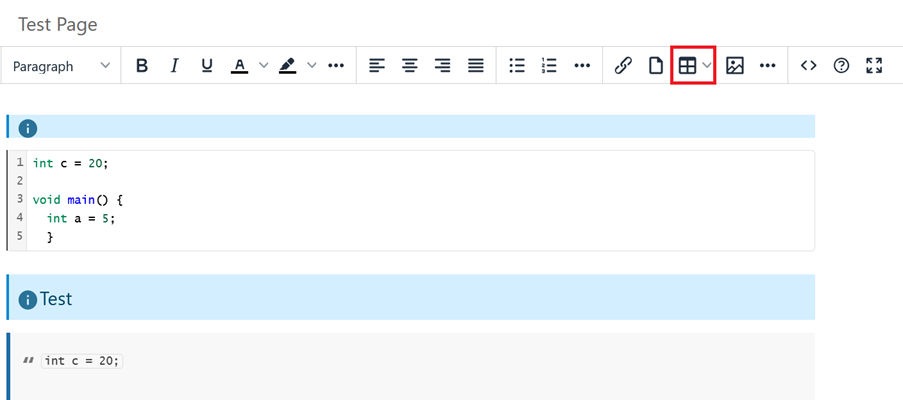
Inserting tables
The editor allows users to insert tables into the page for organizing and presenting data effectively.
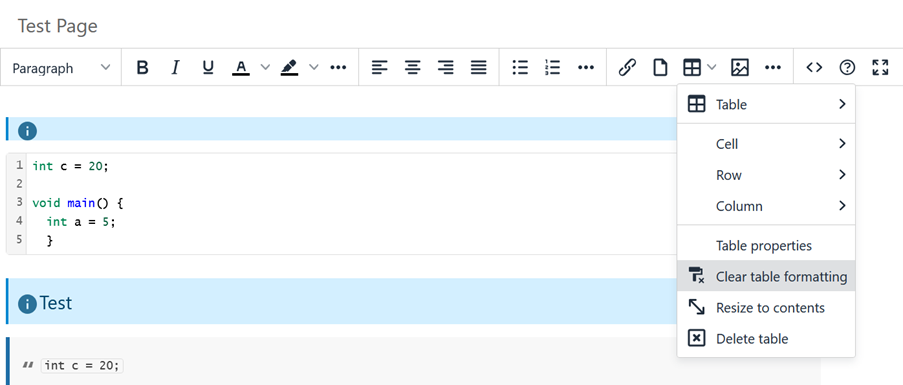
Tables can be heavily customized, with properties that can be set for:
-
The entire table (e.g., size, borders, alignment).
-
Each row (e.g., height, background colour).
-
Each column (e.g., width, alignment).
-
Individual cells (e.g., formatting, merging, padding).
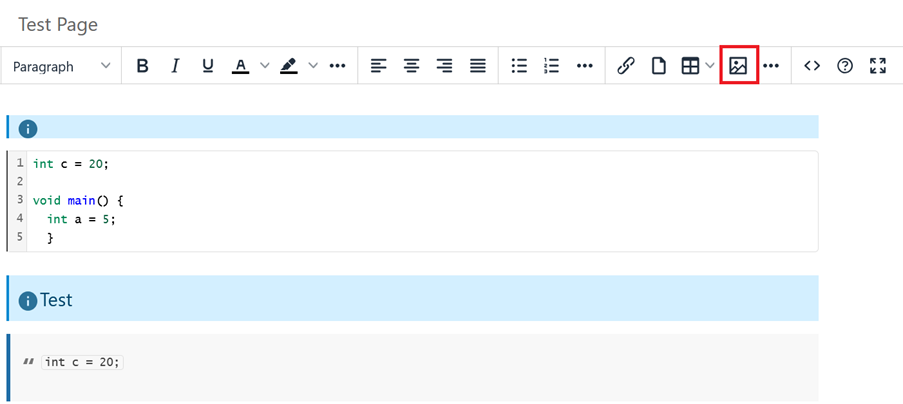
Inserting images
The editor allows users to insert images into the page.
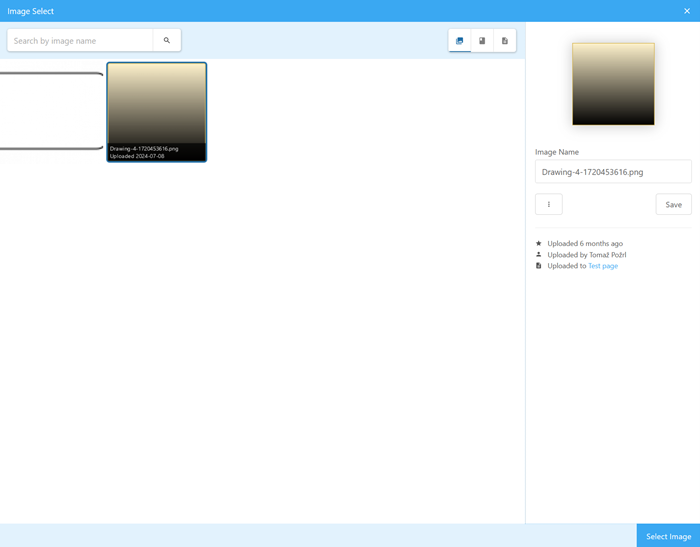
In the Image Select window, users can upload an image by clicking the Upload Image button.
Alternatively, users can select an image that has already been uploaded to the platform. They can search in:
-
All images,
-
images within the current course,
-
images uploaded to the current page.
Once an image is selected, click the Select Image button to insert it into the page.
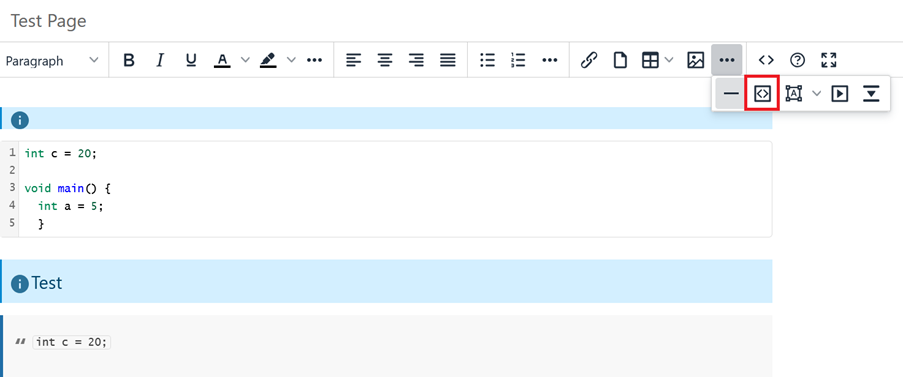
Inserting code blocks
The editor provides support for inserting code blocks, allowing users to display formatted code snippets clearly.
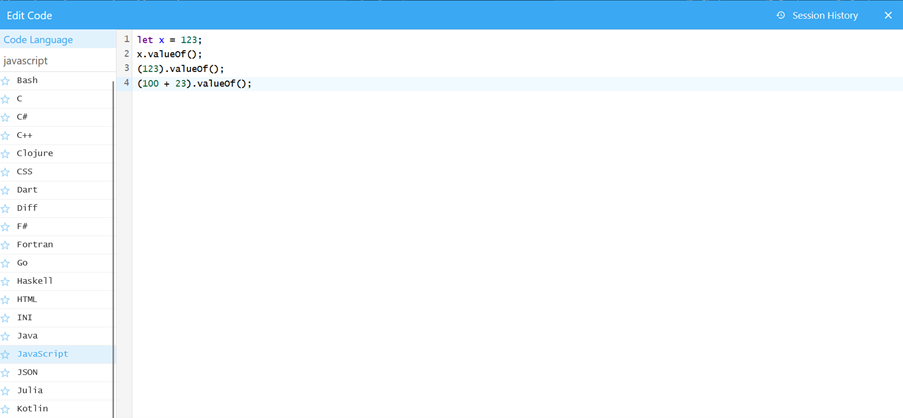
In the Edit Code window, users can choose from a wide range of programming languages. They can write the programming code directly in the editor or they can copy and paste code from other editors.
The code editor features include code highlighting that enhances visibility and readability. Basic code versioning is available via the Session History button (top right).
Once the programming code is complete, click Save Code to insert the code block into the page.
Inserting drawings
The editor provides comprehensive support for creating and inserting drawings. Users can either insert an existing drawing from the platform or create a new drawing directly within the editor.
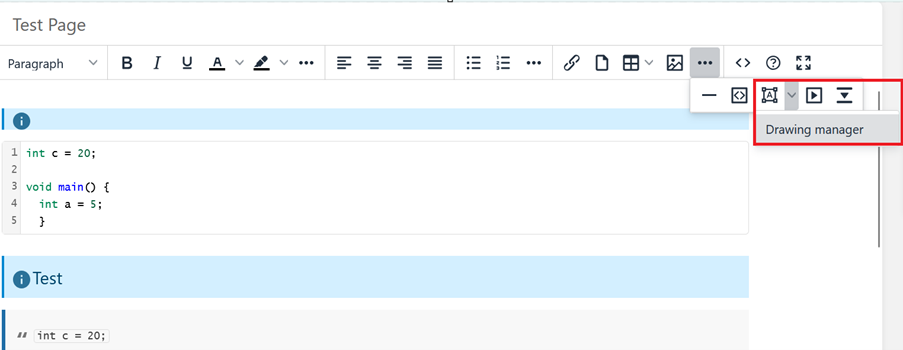
To insert an existing drawing, open the Drawing manager as shown below.
In the Image Select window, choose the desired drawing and click Select Image to insert it into the page. Users can select drawings from the entire platform, drawings within the current course, or drawings created within the current page.
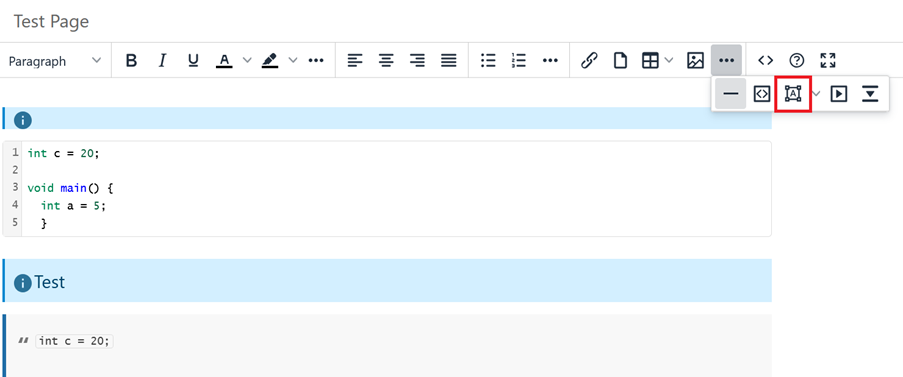
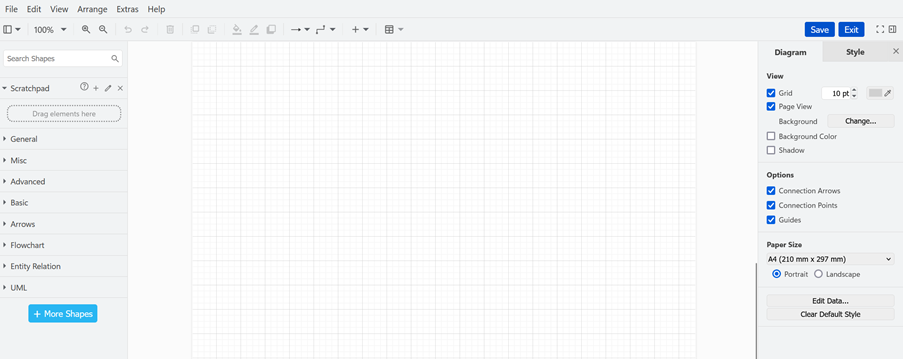
To create a new drawing, click the New Drawing button as shown below. This will open the drawing editor, allowing users to create and customize their drawings before inserting them into the page.
Users can choose from a wide variety of pre-existing shapes, including:
-
basic and general shapes,
-
advanced shapes,
-
arrows,
-
flowcharts,
-
entity relationship diagrams,
-
UML diagrams,
-
clipart,
-
electrical shapes,
-
floorplans,
-
cabinets,
-
web icons,
-
signs,
-
and much more.
These shapes allow users to create detailed and structured visual content within their drawings.
Inserting / editing media {#inserting-editing-media}
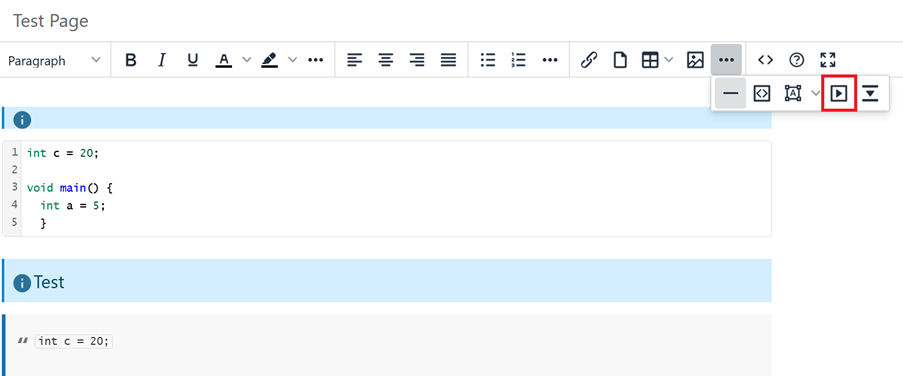
The editor supports inserting and embedding media files, allowing users to integrate audio, video, and other multimedia content directly into a page.
-
Supported image formats: JPG, PNG, GIF, WebP
-
Supported video formats: MP4, WebM, MOV
-
Supported audio formats: MP3, WAV.
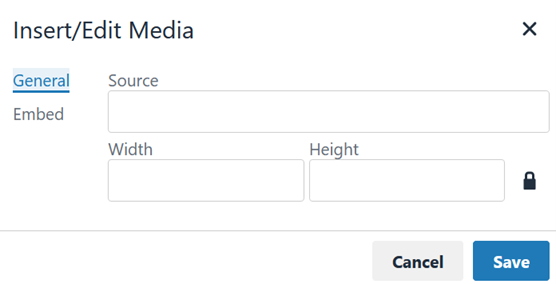
In the Insert/Edit Media window, provide the absolute URL to the media file. The file can be embedded in two ways:
-
General: a file previously attached to the page. You can set width and height of the embedded media and also constrain proportions.
-
Embed: a file from an external source where an embedding code needs to be provided.
Inserting collapsible blocks
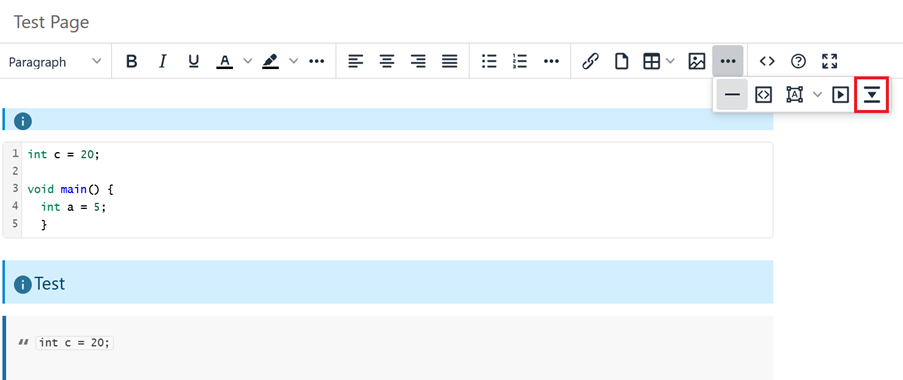
The editor also allows users to insert a collapsible block. This block remains hidden by default, but readers can expand it to view its content. The editor also supports adding a label to the collapsible block. 
Editing page source code
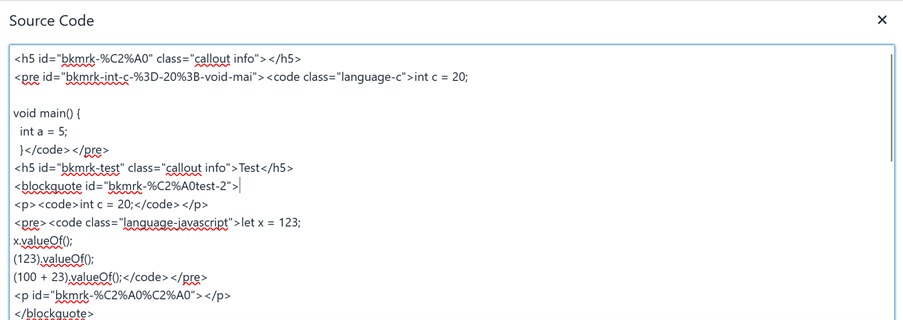
Advanced users can edit the source code of the page by directly modifying the HTML. This allows for greater customization and control over the page's content and formatting.
WYSIWYG editor shortcuts
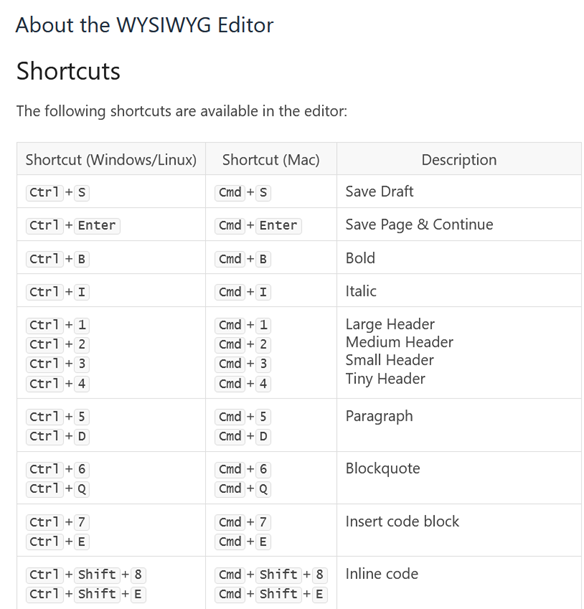
For quicker and easier formatting of page content, the editor provides various keyboard shortcuts to enhance productivity.








No Comments