Additional functionalities
Adding page tags
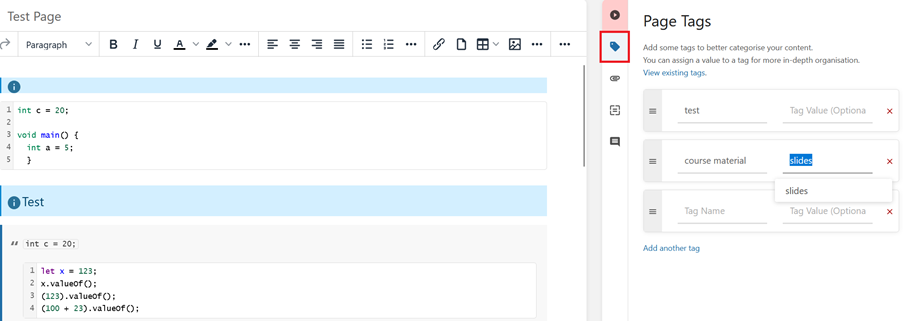
To organize content effectively, you can categorize a page by adding page tags. These tags can be simple keywords for quick categorization or structured key/value pairs for more detailed classification.
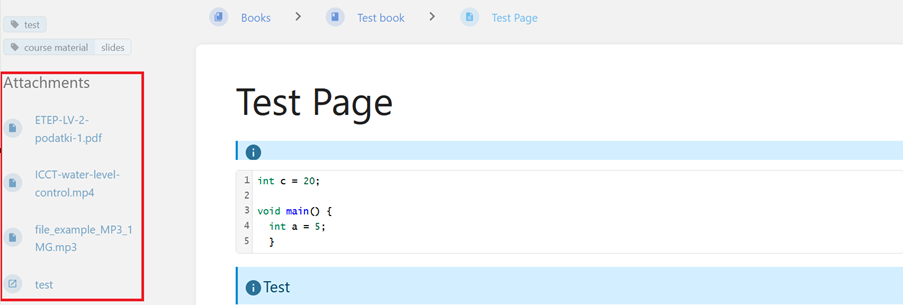
Upon saving the page, the added tags appear in the Left sidebar of the platform interface.
Adding attachments to a page
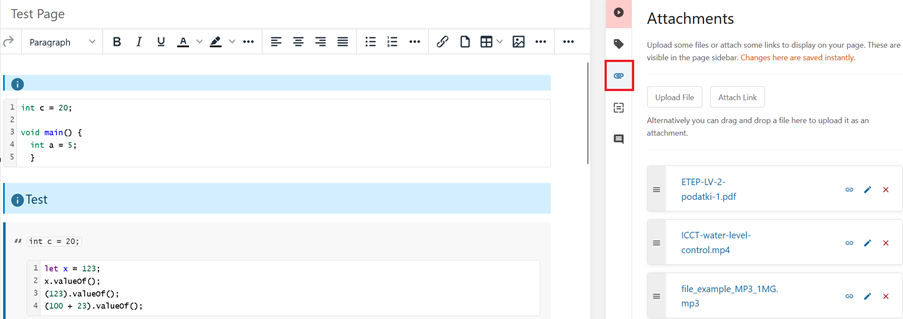
The editor supports adding attachments to the page. Users can upload a file directly to the page or attach a link to an external file or resource.
The attached files or links are saved instantly and appear in the right sidebar of the editor interface. Upon saving the page, the added attachments appear in the left sidebar of the platform interface.
Additionally, users can use the Insert PDF option in the editor to embed PDF files within the page. They can also use the Insert/Edit Media option to embed media files, as described earlier in this section.
Setting a page as a template
If you want your course content to follow a specific page template, you can structure the page and then save it as a template. Other users can also use the template for their pages, depending on their permissions.
Page revisions and restoring previous versions
The Page Revisions feature ensures that all changes to platform content pages are tracked, allowing users to review or restore earlier versions when needed. This is especially useful for collaborative projects, where multiple users contribute to a Page, Chapter, or Course.
Accessing page revisions
1. Open the Page you want to review.
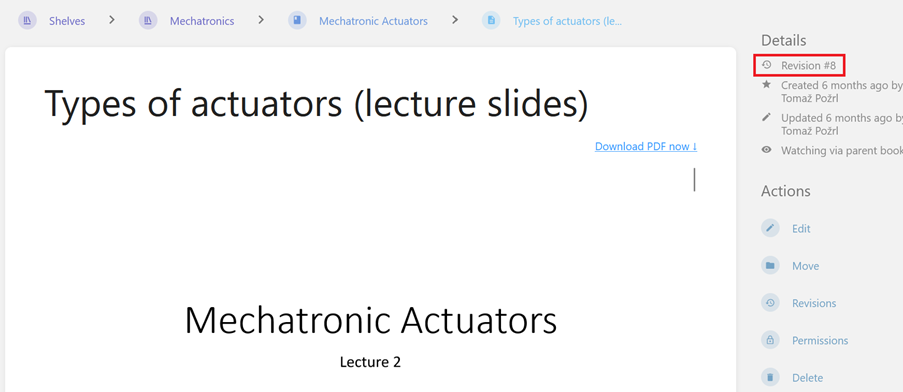
2. Look for the Revision number at the top of the Right sidebar.
3. Click on the revision link to open Page Revisions history.
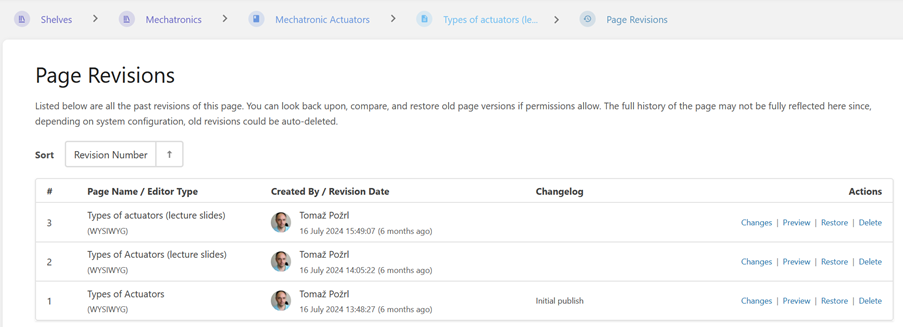
A list of page revisions will appear, displaying the following details:
-
Revision number,
-
page name and editor type,
-
created by (user who made the revision) and revision date,
-
changelog (optionally, if entered when saving the page -- see chapter 3.1.1),
-
actions available for each revision:
-
changes (compare differences between versions),
-
preview (see the content of that revision)
-
restore (revert the page to the selected version),
-
delete (permanently remove a revision).
-
Restoring a previous revision
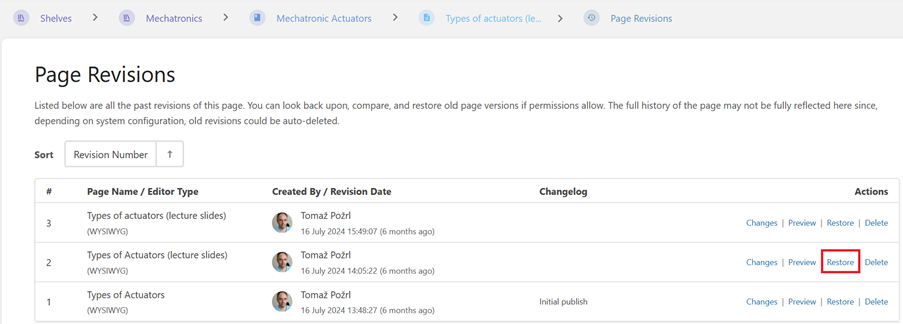
1. From the Page Revisions screen, select the version you want to restore.
2. Click Preview action in the far-right column to review the content of that version.
3. If it's the correct version, click Restore in the far-right column and confirm your decision.
4. The restored version will now be the active content for that Page, and a new version will be created to document the restoration.
Deleting a previous revision
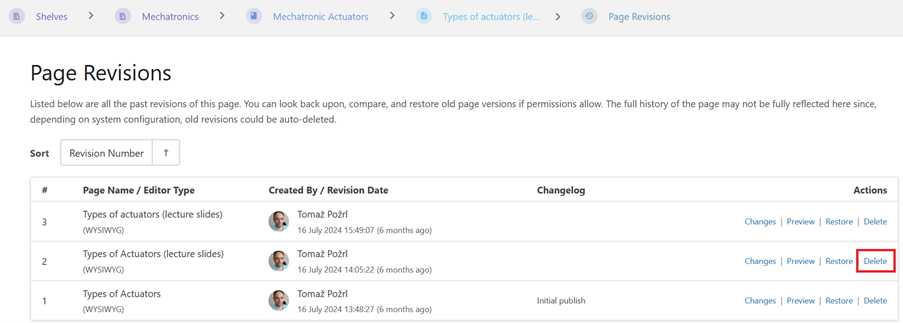
1. From the Page Revisions screen, select the version you want to restore.
2. Click Preview in the far-right column to review the content of that version.
3. If it's the correct version, click Delete in the far-right column and confirm your decision.
4. The selected version will be permanently deleted and will no longer appear in the revision history.
Benefits of version history
-
Transparency: Track who made changes and when they occurred.
-
Error recovery: Restore content if errors or accidental deletions are made.
-
Collaboration: Resolve conflicts by reverting to a baseline version.


No Comments